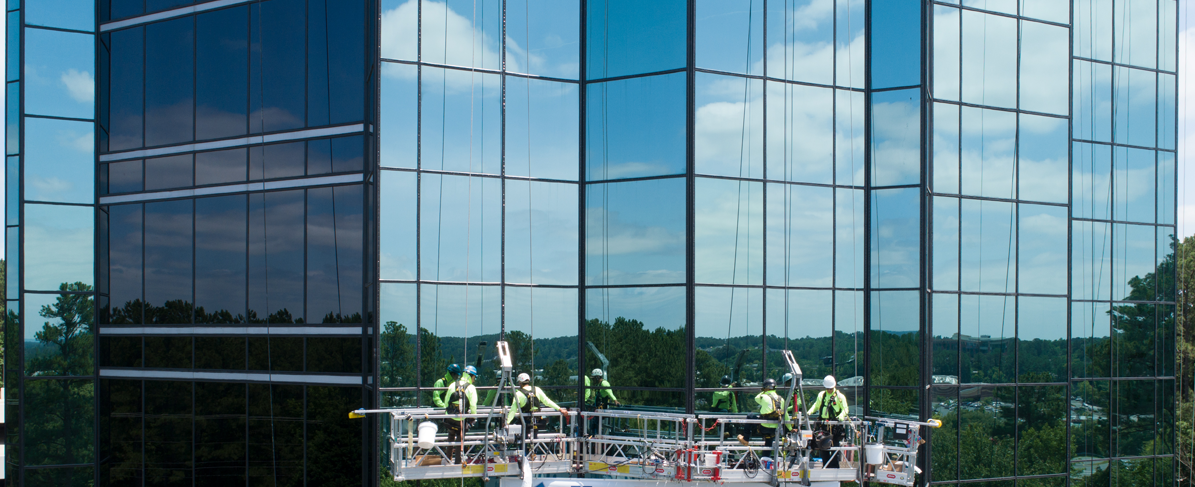
For any glazing professional, time is money. But what’s the best way to speed results and get a leg up on your competition? Using a one-size-fits-all product may be tempting, but it can end up being costly to you and your reputation.
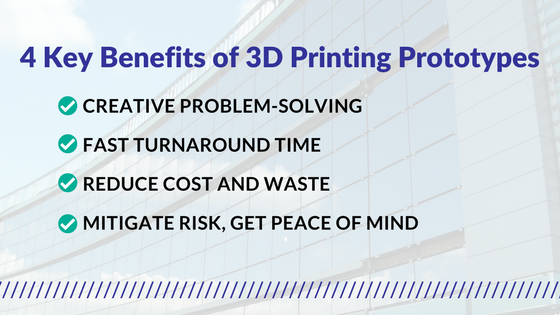
A better solution relies on 3D printing to rapidly produce prototypes to save time and help you avoid costly errors on your next new construction or restoration project. This technology is not only simple and fast, it is accessible on almost any budget.

With 3D printing, you can reproduce virtually any component in the glazing pocket, including the horizontal and vertical members, extrusions, and molded parts.
Samples are printed layer by layer using a variety of materials. Plus, with multi-durometer filament options for varying degrees of rigidity, you can have an extremely accurate recreation of the size, shape, flexibility and fit of your specific part.
With these pieces in hand, you can better visualize how a complete window system will come together, make any necessary design changes, and confirm your details prior to manufacturing.
The sample reduces the cost and time associated with expensive die fabrication and helps ensure that the product you order will be the correct fit for your application.
If your building is already leaking, you need to get to a solution as fast as possible to minimize occupant disruption and any further damage. 3D-printed prototyping easily fits into your typical ordering process, so you are kept on or even ahead of schedule.
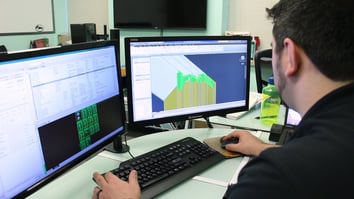
First, a design engineer translates the drawings and dimensions for the sample into a 3D rendering. Once you confirm the design, the printing begins, which takes approximately 48 hours depending on the sample’s size and intricacy.
The print is then shipped, allowing you to get a sample in a few days, rather than weeks as needed with the traditional die fabrication and extrusion process. Once you verify the final design, your product is manufactured in its final form and quantity.
You can expect typical lead times at this step, however the architect, contractor, consultant and building owner now have the peace of mind that the glazing solution will have the correct fit and aesthetic, with added long-term protection from water and air infiltration. For many, this benefit is invaluable.
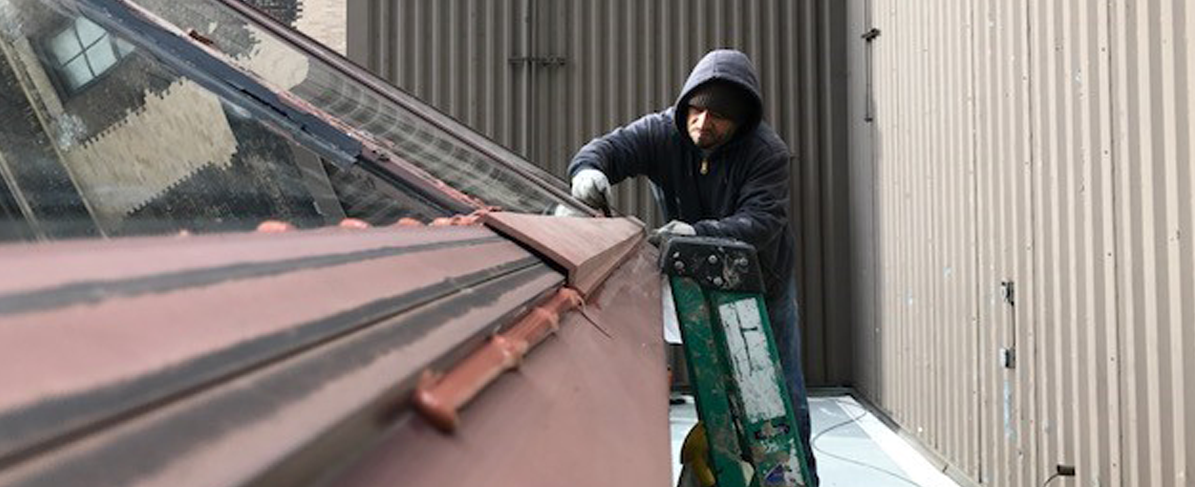
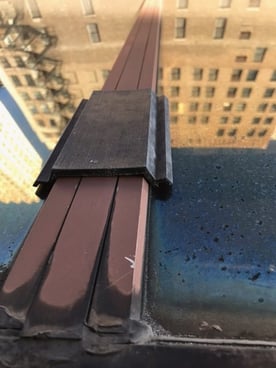
Keith Boron, President and CEO of Riggio/Boron Ltd., a Chicago high-rise caulking and restoration specialist, recently utilized a 3D printed overlay for a restoration project in downtown Chicago. Boron says that moving forward, “I would request a 3D part prior to starting any project we do with an extrusion.”
He elaborates that getting a 3D printed part is simple, and the ability to see what the product will look like on a building prior to application is a definite asset.
Whether you have a basic storefront, a custom curtain wall or aggressive performance requirements, fully-tested solutions and on-site services are a must to make your project a success.
Watch the 3D printing process in action from design to application: